Instruction for use of pulse lead-based solder
When you go to buy lead-based solder, many of you are confused as to which one to choose. Because there are many types of Chinese soldering irons on the market, but the stamps are Vietnamese, and the prices are also different.
Sometimes it's okay to spend a lot of money to buy a good thing, worrying about real money but good products. You should choose a good soldering iron, no hot torch body, stable temperature, and no residual magnetism.
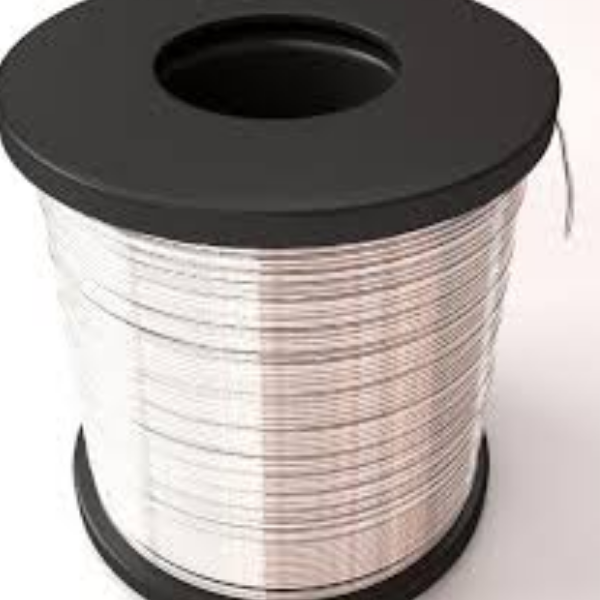
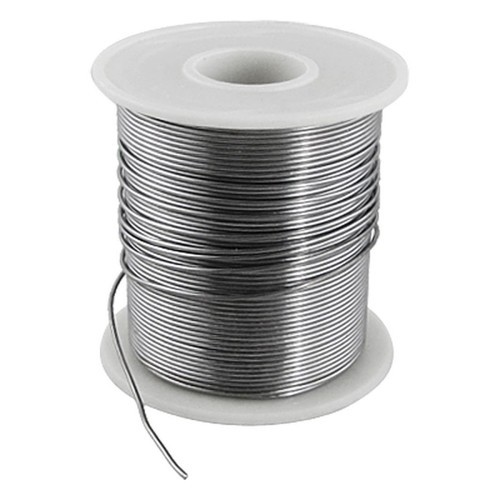
Buying Lead-based solder
When you buy it, you should try it if the heat is just right. Then press for 1 second and then release it, and then use your hand to check the lead-based solder. The warm temperature is felt using this tip.
The temperature should not be too hot or too cold. It is too hot when soldering on the printed circuit, it will easily peel off the circuit. And too much soot will not melt the tin on the circuit.
The procedure of lead-based soldering
If you see that your lead-based solder iron is using a 1-cup wire with a length of about 7cm, but the solder feels too hot, you should reduce the length to 4cm. If it still doesn't work, replace it with a 0.8-mm wire.
After cutting the torch head wire, scrape it off or take a piece of paper. Assemble the whole wire. Now use something like a knife or scissors to scrape off the head. contact the copper wire pile to catch the wire (2 copper piles from the soldering iron) then start the soldering iron.
Tinned for the first time
After catching the screws, press the soldering iron and dip it into the turpentine. After the turpentine has melted and adhered to the tip of the torch wire, stop pressing and remove the torch. You guys find an old PCB that has big soldering nodes available with tin.
If you don't have it, remove some tin wire from the new tin foil. Tint the tip of the lead-based solder, and then press this solder tin for 5-10 minutes. This time is because the tip of the lead-solder will oxidize by high temperature and will not be able to eat tin anymore.
How to solder common electronic components:
You should clean PCB (Printed Circuit) and component legs (PCB and old components) before soldering. It can be cleaned with acetone, paper-knife, sandpaper, etc. So when soldering, the tin and foot components will be easier to stick together.
Soldering is a method for permanently connecting. The lead-based solder technique is used to heat the metal that is to be soldered. Solder is metallic glue that keeps the metallic components together and creates a connection that allows current flow.
Process of using lead-based solders electronic components
- First, you cut the component pins so that the components are firmly plugged into the PCB.
- Secondly, the component pins protrude 1mm is the most beautiful.
- Also, press thelead-based solder iron into the piece of turpentine.
- Then, release the torch
- After that lift the torch to the foot of the component to be soldered
- Moreover, press the soldering iron to let the turpentine at the tip of the torch
- It will flow out and cover the leg components and PCB holes
- Finally, insert the thin wire into the PCB hole
Component feet and lead-based solder
You should soldering torch head so that the tin touches the lead-based solder tip and melts. Just give a little tin everyone. This gives too much, sometimes easily touching the pins. The side components, the solder joints look worse.
Usually, after touching the component feet, the tin will melt and evenly coat the PCB holes. If you see that the solder joint is still not beautiful, you can move the head Solder torch evenly or add a tin or add turpentine. This is to make the solder beautiful, shiny, and firmer.
Instructions for soldering IC pins or multi-pin arrays
Have you tried soldering ICs with 2 rows of pins x20 = 40 pins, do you find it difficult?
- Firstly, use alead-based solder to apply turpentine to all the pins of the IC on the PCB
- Secondly use a moderate amount of tin for the first leg of the sequence.
- Press the soldering iron to melt the tin and so on move to the next leg until the last leg
- Also, If the legs still touch each other, just move and continue to the last leg.
- In the process of tin digging, if there is a shortage of tin, add more, at the end of the leg.
- Finally, if there is an excess of tin, shake the tip of the soldering iron to remove the tin.
Instructions for sucking tin to withdraw components from PCB
In the process of lead-based solder use a gun (pistol) to suck the tin. After buying a suction gun, you should make a little more for the gun to be more effective. You go to the electronics store and ask for a rubber breast pump (Old TVs).
To remove the breast, just take a rubber tube about 2cm long at the base of the breast. That tube, you guys cover the gun head to protect your gun head from melting plastic during the process of the gun tip coming into contact with the solder you want to suck.
How to suck in lead-based solder?
In the process of lead-based solder, we can use turpentine or not melt the old solder joint. After the solder has melted, you put the gun head near the component foot area and press the button to suck the tin. At this time, the rubber at the top of the gun comes into play.
The rubber in the process of lead-based solder does not melt when it comes into contact with the tip of the soldering iron and limits the air when it is sucked into the gun, making the tin cleaner.
Using multi-stranded wire cores to suck tin
The lead-based solder method has existed since the ancient times of our forefathers. You find a wire with many small copper cores as small as possible. It should not be too small and easy to break at the PCB, which is easy to short.
You absorb the turpentine to seal the tin suction wire and put it right on the solder joint, then press the soldering iron. The melted tin will be attracted quite a lot by the wire. Next, you lift the tin suction wire and shake it vigorously so that the tin in the wire shoots out. Continue dipping the turpentine and sucking on the tin again until the stars are clean.

